How to Create Good Quality Videos on Your Smartphone
Having returned from Social Media Marketing World in sunny San Diego, I could not wait to tell you all about the Primal Video / Justin Brown workshop that I attended which was all about using your SmartPhone to create high-quality videos.
I have been using my iPhone 7 for some time now to record videos. With the introduction of native video on all social media platforms (including LinkedIn), it is a medium that you can no longer ignore. The iPhone, Google Pixel Phone and Samsung phones have fantastic quality recording capability, so it makes sense to capture video whilst on the go with the device that you have in your pocket. Saying that, you do NOT need the latest phone. The iPhone 5 or Samsung S5 and above will be adequate for the purpose of online video marketing on the go.
Justin talked about nine steps to filming when using your smartphone. Although not all of these steps are relevant, if you can complete most of them, and develop habits when recording then you will certainly be more successful.
Step #1 – Front or Rear Camera?
I was a novice and I didn’t realise that the front-facing camera was lower quality than the rear-facing camera. If you are shooting a selfie for Instagram stories or a talking head type of video then we always tend to opt for the front-facing camera as we can easily see ourselves and we have confidence that we are in the shot. Justin mentioned that the front-facing camera is not awful quality, but if you can use the rear-facing camera then this will certainly give you better results.
GEAR: Use an app called Reflector (An app that reflects your phone onto your mac) so you can see yourself using the rear camera. Alternatively, you can plug your phone into your Mac using the lightning cable and then launch Quick Time Player. If you do not have your computer with you, or you are using a PC then a good old fashioned mirror may be your answer. Personally, I will continue to use the front-facing camera as the quality is not that bad (in my opinion).
Step #2 – Get the phone out of your hands!

Image credit – Amazon, click here to view.
This tip was no surprise to me. I have been using a Smooth Q Gimbal Stabilizer (a posh selfie stick) for some time now and it really does make a huge difference to the quality of my videos. Even though the iPhone 7 has a built-in stabilizer, if you are walking and talking then there is always an element of shaking – a gimbal eliminates all of this. If you are not keen on spending money on a gimbal (and they can be quite expensive), then look at using anything that gets the phone out of your hands. This could be a tripod, selfie stick, a phone holder or even a pile of books – anything that keeps the phone out of your hands!
Step #3 – Clean the camera lens
I know this one sounds obvious, but it is certainly a habit that I need to develop. How often do you grab your phone, point and shoot for either a video or a photo and never wipe the screen? This was a HUGE takeaway for me and I have started to develop the habit of wiping the screen with my t-shirt (or my glasses wipe if it is nearby) each time I take a shot. Sometimes you just need to be told the obvious!
Step #4 – Light Yourself First, then the background
I always get the lighting wrong. The golden rule is to make sure that your face is lit up correctly (not too much). There is no need to overcomplicate the process and often natural sunlight will work fine.
GEAR: Justin showed us some really cool LED portable lighting that is lightweight and lit up the room like a floodlight! Yongnuo YN-300 Air, Aputure AL-M9
Step #5 – Audio is essential
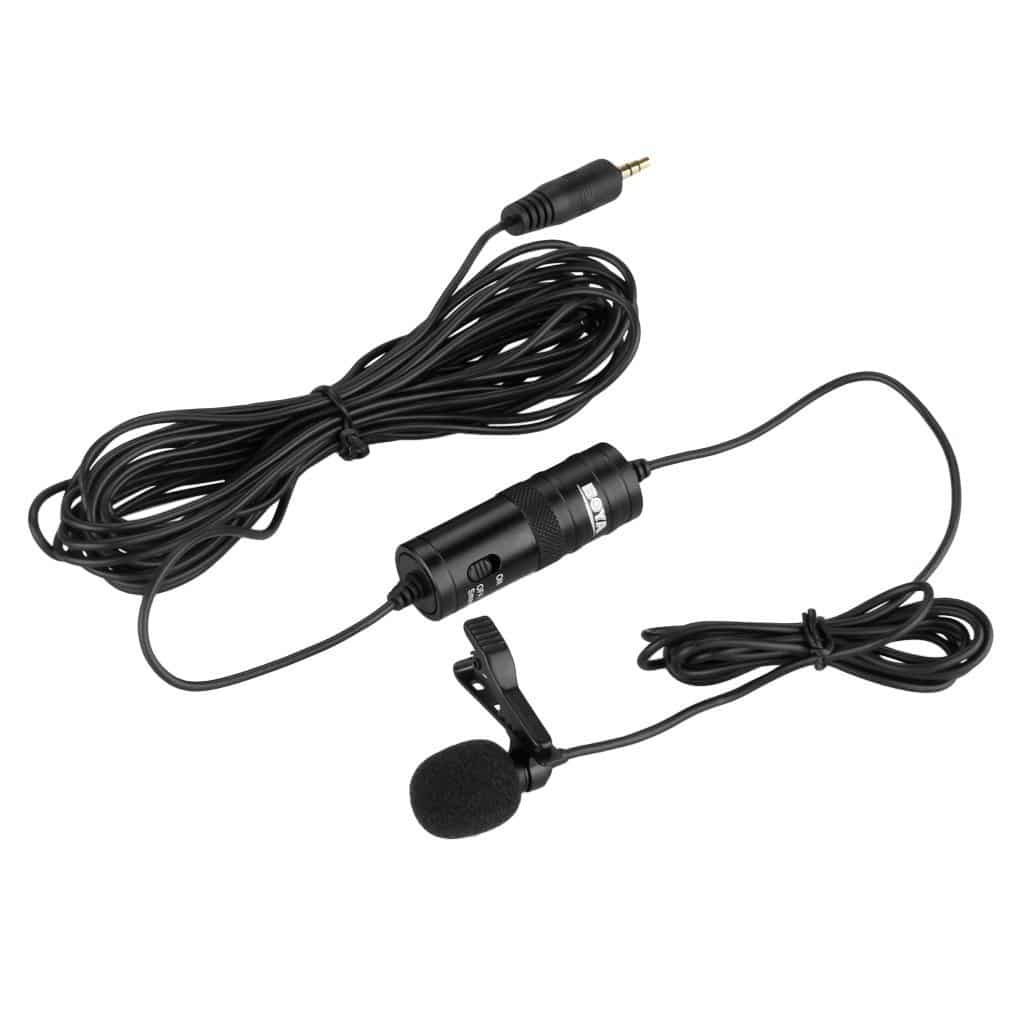
Credit Image – Amazon. Click here to view product
It is a fact that people will watch a bad quality video, but they will switch off if the audio is poor. Again, this is something that I need to develop as a habit. I have a Smart Lav Rode Lapel Microphone, which is easy to plug and play into my iPhone, but do I use it? Nope! I took it with me to San Diego and after Justin’s talk, I made sure that I plugged in my mic everytime I put a video together. You can SO tell the difference and it is pleasant to listen to a clear, crisp audio.
GEAR: Wired Lapel (BOYA BY-M1) Shotgun (Rode VideoMicro or BOYA BY-MM1) Wireless (Rode Filmmaker Kit)
Step #6 – Prepare your phone for filming
I chuckled to myself when Justin mentioned that preparation is key. I was once recording a talk that I was presenting at a Health and Safety Conference and my phone ran out of space, so the video did not record. So another of Justin’s tips was to check the space that you have on your phone – noted! The other point to be aware of is your battery levels. Do you have enough battery left on your phone to cope with the work that you are about to embark on? If not, do you have a reliable battery power backup?
GEAR: I now use a USB stick that has a lightning attachment that plugs into my iPhone. I can then download photos and videos from my phone, onto the USB stick which releases valuable space for more videos. 64GB Stick – click here to view on Amazon.
Step #7 – Put your phone in airplane mode!
How many times have you been recording a video and a notification pops up from Slack, social media, text message or even a phone call? Try and get into the habit of either putting the phone into airplane mode or activating the “do not disturb” feature to make sure that this does not happen.
Step #8 – Lock down your camera settings
If you are recording a video and using the standard camera app then you will have the autofocus set. You may think that this is a good idea, however, you may want to add focus to a particular person or object but with the autofocus, you do not have any control over this feature. With the iPhone, simply tap the object in question (once to focus, then hold to lock the focus). By locking the focus you will prevent any changes in exposure during your recording.
GEAR: If you are using the Smooth Q Gimbal then I would recommend using their application to record your video as you have complete control over the settings. If you are not using a gimbal, then try FiLMiC Pro (iOS and Android). There are endless videos on YouTube (including Justin’s own videos to explain how FiLMiC Pro works). There is a small charge of £15 as a one-off fee, but it is certainly worth the investment.

Step #9 – Record a quick test video
I once recorded an interview with a client for one hour without realising that the audio was not working! Yep, I learned the hard way so I always record at least a 5-10 second quick video first before I click that button to record for real.
Summary
As mentioned, you do not need to complete ALL of the above steps, but the more you complete the better your smartphone video results will be. To help with this process we have created a quick checklist for you (click here).
Video will be the driver of 80% of web traffic by 2019, which is only months away. Are you embracing video yet? If not, then perhaps it is time to start. We will be writing more blogs on video recording. As we learn, we intend to share this new found knowledge with you. I hope you join us for the journey.
[social-bio]
Share this!
You might also be interested in...